Voting with your feet

I am writing this blog for fun and hoping that it will provide some entertainment. But the practical reasons for owning a home on wheels should not be understated. I believe the oppressive corruption-19 restrictions currently being enforced in various places will encourage the vandwelling lifestyle as a way to escape to areas of greater freedom and opportunity. When lockdowns ruin the job market in one area of the country it’s easy to pick up and go someplace better if your home is mobile. There are also a lot of companies now allowing employees to work online, so why not work form your laptop while exploring the countryside in a tiny home?

I have been making slow and steady progress on my project. I may not post that often and perhaps my post aren’t as detailed as they could be. But my primary purpose in funding this site and documenting this project is to encourage others to consider doing this kinda thing themselves. I think the philosophy behind vandwelling now makes even more sense considering how destabilized the world has become in the last year. If rioters decide to loot and burn down the neighborhood, a vandweller can simply drive away with all of his/her possessions. A heavy conventional house with a cement foundation firmly attached to the earth cannot be picked up and moved during hurricane season or taken up to higher ground during a flood.

Although full time van life isn’t practical for everyone. Having the option to start the engine and go for the sake of recreation or emergency makes sense, even if you live most of the time in an earth anchored house. During this plandemic I’ve seen whole families move to their vacation homes in rural areas to live full time. They are either trying to get away from tyrannical lockdowns in other areas or they feel safer away from the city. In order to accommodate extended family you will often see several RVs and camper trailers parked at those second homes.

The great thing about the American Republic is that it is made up of many states, each having different ideas about how to live and enjoy life. In a republic, minority groups (or individual states) retain their rights against the will of a dominate majority (or the few who hold centralized power). In the case of a direct democracy or (the dominate centralized power of a few) a majority can tyrannically impose their ideas or laws onto everyone else against their will. At least for now, Americans have the freedom to choose what state to live in. And individual states decide what laws their citizenry will live under, either in agreement or opposition to centralized power in Washington. Let’s hope that never changes.


“Crucial to understanding federalism in modern day America is the concept of mobility, or ‘the ability to vote with your feet.’ If you don’t support the death penalty and citizens packing a pistol – don’t come to Texas. If you don’t like medicinal marijuana and gay marriage, don’t move to California.”
~Rick Perry

Shiplap & Insulation

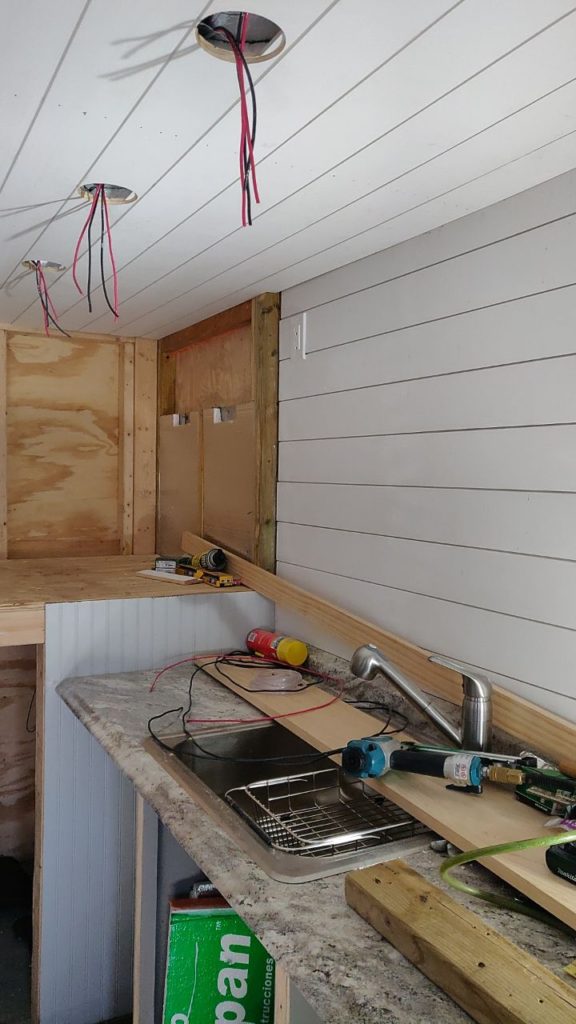
I got some really nice primed pine shiplap from home depot over a year ago before I put the van project away. I had left it stored in the truck until now. I’m glad I got the material when I did because I saw that my local Home Depot has now switched to an inferior MDF shiplap that I don’t like as much as the finger jointed pine I got before.

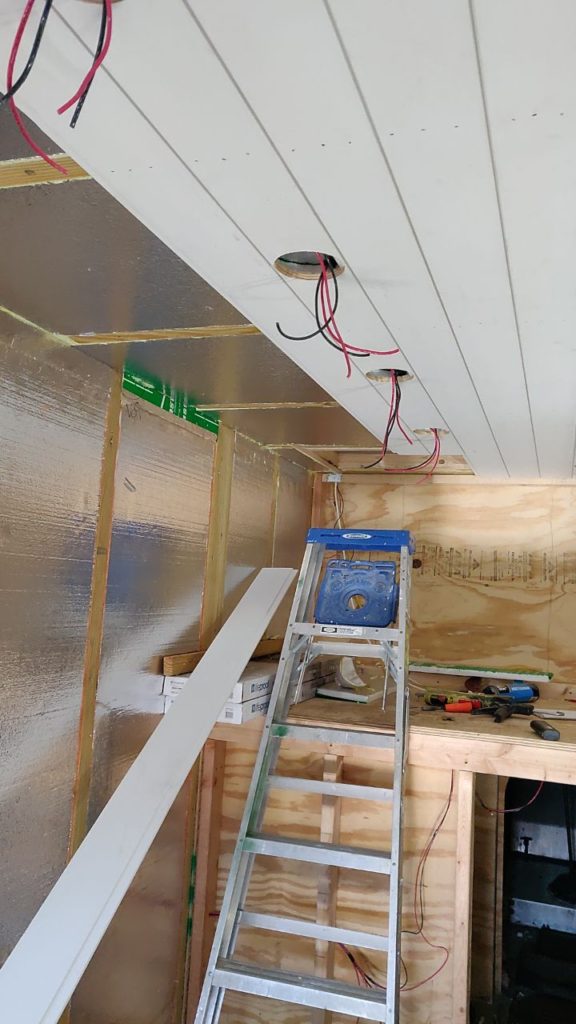
I measured and laid out my wiring so that the LED lights on the ceiling would be centered within the width of a board. I used a 4-1/8″ hole saw to make the cut outs for the LED lights. There was a little tab where the lap of the previous board invaded the cut out from the hole saw, I later finished cutting these out with the jig saw.

I used construction adhesive and 1.25″ brad nails to fasten the 1/2″ thick ship lap to the wooden ribs. The insulation is mylar backed EPS foam board from Home Depot. The brand of foam is called “R-Tech”, it’s not the highest rated foam insulation but I think it’s pretty good for the money. I put 2″ on the walls and 2.5″ on the ceiling, the R value is R7.7 for the walls and R9.63 on the ceiling. Every little gap in the foam was filled in tight with expanding foam. I believe this tiny space is now very well insulated. The straight walls and ceiling of a step van make it very easy to insulate and finish with flat materials as compared to the curved surfaces inside other types of vans.

“Success seems to be connected with action. Successful men keep moving. They make mistakes, but they don’t quit.” – Conrad Hilton

Finally back at it…….

I apologize for taking so long to post for those who may have been following this build. I stepped away from the project for a year and sorta got wrapped up in all the insanity of things going on in the world. I have however been making progress recently on the van and want to update the site as I just passed the URL to a friend and felt embarrassed that it hadn’t been updated in so long…..

SKYLIGHT!!! An old hippy friend of mine impressed on me the importance of having a skylight above your bed in order to see the stars at night. So that is one of the first things I did when I got going again on the truck. Cutting through the aluminum skin was easy with a metal blade in the jig saw.

I measured out a good spot right over the head of the bed and made an inner frame with 2″x3″s to support the opening. I installed a simple clear bubble skylight I ordered online, but now I sorta wished I had installed a hinged type skylight or modified this one so that it could be opened all the way. I was thinking that having a skylight that opens would be a good way to get up on the roof without a ladder. Half of my body was already through the opening while standing on the bed loft. It was easy to crawl out until I sealed and screwed the skylight down. I think I will end up changing it. I’d like to be able to get up on the roof easily to mess around with the solar panels or antennas and stuff while on the road. If I didn’t have to carry a ladder, that would be great. It could also be an emergency exit if needed.

“It does not matter how slowly you go as long as you do not stop.”
― Confucius

12v Wiring Chaos

Before I begin to bore you with a brief overview of the wiring I’ve been working on. Let me show you a preliminary sketch of how the castle may look up front.

30EA5DB5-EDB6-497B-B9F9-3AF52A702365.jpeg

This is just a rough idea of what I will later be carving out of foam…????

Now for the boring part.

When I started thinking about the lighting in the van, it made sense to switch to a 12 volt system. I want to be able to run the lights when I’m off the grid. Plus LED lighting really doesn’t use much power.

The more I thought about all I wanted to hook up to 12 volts the more chaotic the wiring started to get. I am installing 21 lights throughout the van on various switches as well as a fiber optics (twinkling stars) headliner kit in the cab. I also ran power for a vent over the shower, power vent for a future composting toilet (either the Air Head or Nature’s Head), a 12v USB charging outlet, a water pump, and a couple extra reading lights.

I purchased a 12 volt fuse block and designated an area under the couch I’m going to build for the 12 volt system. I’ve got a bunch of wires running to this area to be connected.

5A0F7EF8-415E-4304-8724-1BB94F2390FA.jpeg

The wiring needed to be figured out before I could finish insulating.

225D6CDA-2D73-44BB-84FC-DA2D194C1144.jpeg

I did not like the color spectrum of the first LED lights I bought. They were a “warm white” 3200k which basically means yellow. I returned them and bought 4500k neutral white LEDs instead. The new lights are 6 watts each which is double the power of the first ones I bought. I am going to string up 12 of these together on a dimmer switch in the main living area. When I increased the power of the lights, I also needed a more powerful dimmer switch, and thicker wire. Direct current systems lose voltage quickly depending on the length of the wire in the circuit. I was surprised when I was looking up the load data online that I needed to use 10 gauge wire for my overhead lights. ????

I am learning a lot about 12 volt systems.????

Everything is pretty much in place now to finish insulating.

”The whole difference between construction and creation is exactly this: that a thing constructed can only be loved after it is constructed; but a thing created is loved before it exists.”

~Charles Dickens

Cabinets and Countertop

I’m really enjoying the process of putting this van together. I might have saved some money by searching through the reusable building material stores for some of the parts. But I’ve just been buying everything new. Since the van is so tiny, the cost of covering the surfaces is also going to be minimal, even with nice materials.

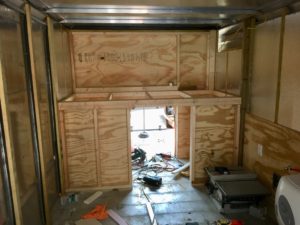
As far as the layout for the cabinets, I simply put things where I thought they ought to go and took measurements. I needed the wall under the bed platform to extend out far enough to catch the edge of the countertop and still allow room for trim. I also needed to ensure enough room to fit my mini refrigerator under the counter

C65FD9AD-3D40-41FC-B40B-6E426FC9FC83.jpeg


01D131D4-4379-4687-AC73-DEFAF3B8E9B1.jpeg

I built the cabinets with plywood, removed the water heater, and painted the insides.

D0E80BCA-36FC-414D-B83D-FEA45479CC80.jpeg

I reconnected the water heater, then installed the countertop and sink.

AA44D3CC-CCE7-4E96-B673-4F1EE7A59F75.jpeg

D0612B17-3E80-4DEC-A95A-796065F64C8B.jpeg

I discovered that the bead board plywood I got from Home Depot was going to need extra framing in order for it to lay flat on the walls. It’s naturally a bit warped and won’t lay flat without additional fastening. So, I decided instead to use primed shiplap for the walls and ceiling. I’m only going to use the bead board for some contrasting accent walls. The ship lap is much sturdier. It does not flex much over the two foot span between studs.

4B5AAD03-261C-4229-A5FB-EC18F7A0A419.jpeg

The kitchen area will eventually get a couple of upper cabinets. I think I will probably do more of the cabinet work next year. I also plan on installing an LED TV above and to the left of the sink. That is what the upper outlet is going to be for.

“I consider space to be a material. The articulation of space has come to take precedence over other concerns. I attempt to use sculptural form to make space distinct.”

~Richard Serra

Castle Wall frame & Loft

Life devoid of artistic expression is dull. Structures of old often had ornate design elements that gave them individual character. The turrets, towers, and dormers built into old Victorian houses here in America are beautiful to look at. Modern architecture however has become pretty basic. The landscape here is now covered in sad lifeless tract housing. In order to mass produce housing as cheaply as possible these cookie cutter houses have now become the norm. Malvina Reynolds wrote a song called  “little boxes” that describes this perfectly.

Anyone interested in vandwelling or tiny houses is already thinking outside of the “box”, but why not take it a step further? Your home should fuel your imagination and zest for life. As I reported in an earlier post, I built a real rock castle inside of my first step van. Your home is your castle right? Well, I plan on perfecting that design in this second van!

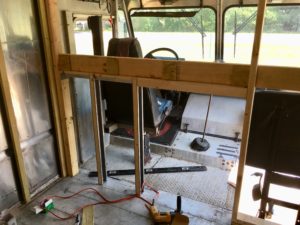
The substratum of the castle wall…

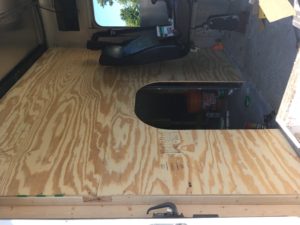
I am going to have a little curved hobbit door as the castle entrance. A hinged door would have taken up valuable internal space. I thought of a door that would draw upwards into the wall like in a real castle. But I decided that would have been complicated and gotten in the way of things I want to build on the back side of the wall. So instead, I decided to cut down a standard pocket door frame and have the door slide into the wall to one side.

After framing in the wall and door frame I sheeted it with 1/2” plywood and cut my curved castle door entrance. Later I will cover this wall with sheets of foam and carve a 3D castle into the foam using hot wire foam carving tools. There is a product called “styrospray” that is used to put a hard coating on finished foam sculptures that makes it more durable. I will be using this product before painting the rocks of the castle wall!

The castle door was offset slightly to one side because of the layout of the front seats. The door is about 30” wide x 40” tall, (perfect size for my inner child to crawl through)!

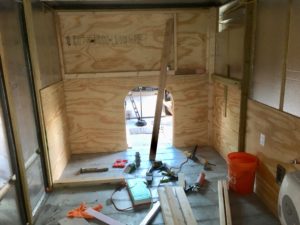
On the interior side of the wall I built a loft for my bed and will have two small closets underneath the bed on either side of the door.

“We don’t stop playing because we grow old; we grow old because we stop playing.”

~ George Bernard Shaw

120v Electrical

As I said in my last post, I’m setting the van up initially to be fully operational on 120 volts. This will require an umbilical cord to the grid but saves me a bundle while getting started with this project. I want to have all the comforts of air conditioning, hot water, and refrigeration without the high cost of RV appliances.

I am going to take steps little by little to be more off the grid and self contained in this truck. I have a 12v system in mind that includes solar panels on the roof, but solar panels will be a project for next year…

So let’s talk about 120v! It’s amazing to me that this magical and mysterious energy can be carried over vast distances using wires to perform all sorts of useful task. It’s hard to imagine what life would be like without electricity. I certainly don’t know everything there is to know about electricity. But I know enough to be dangerous as the saying goes! ????

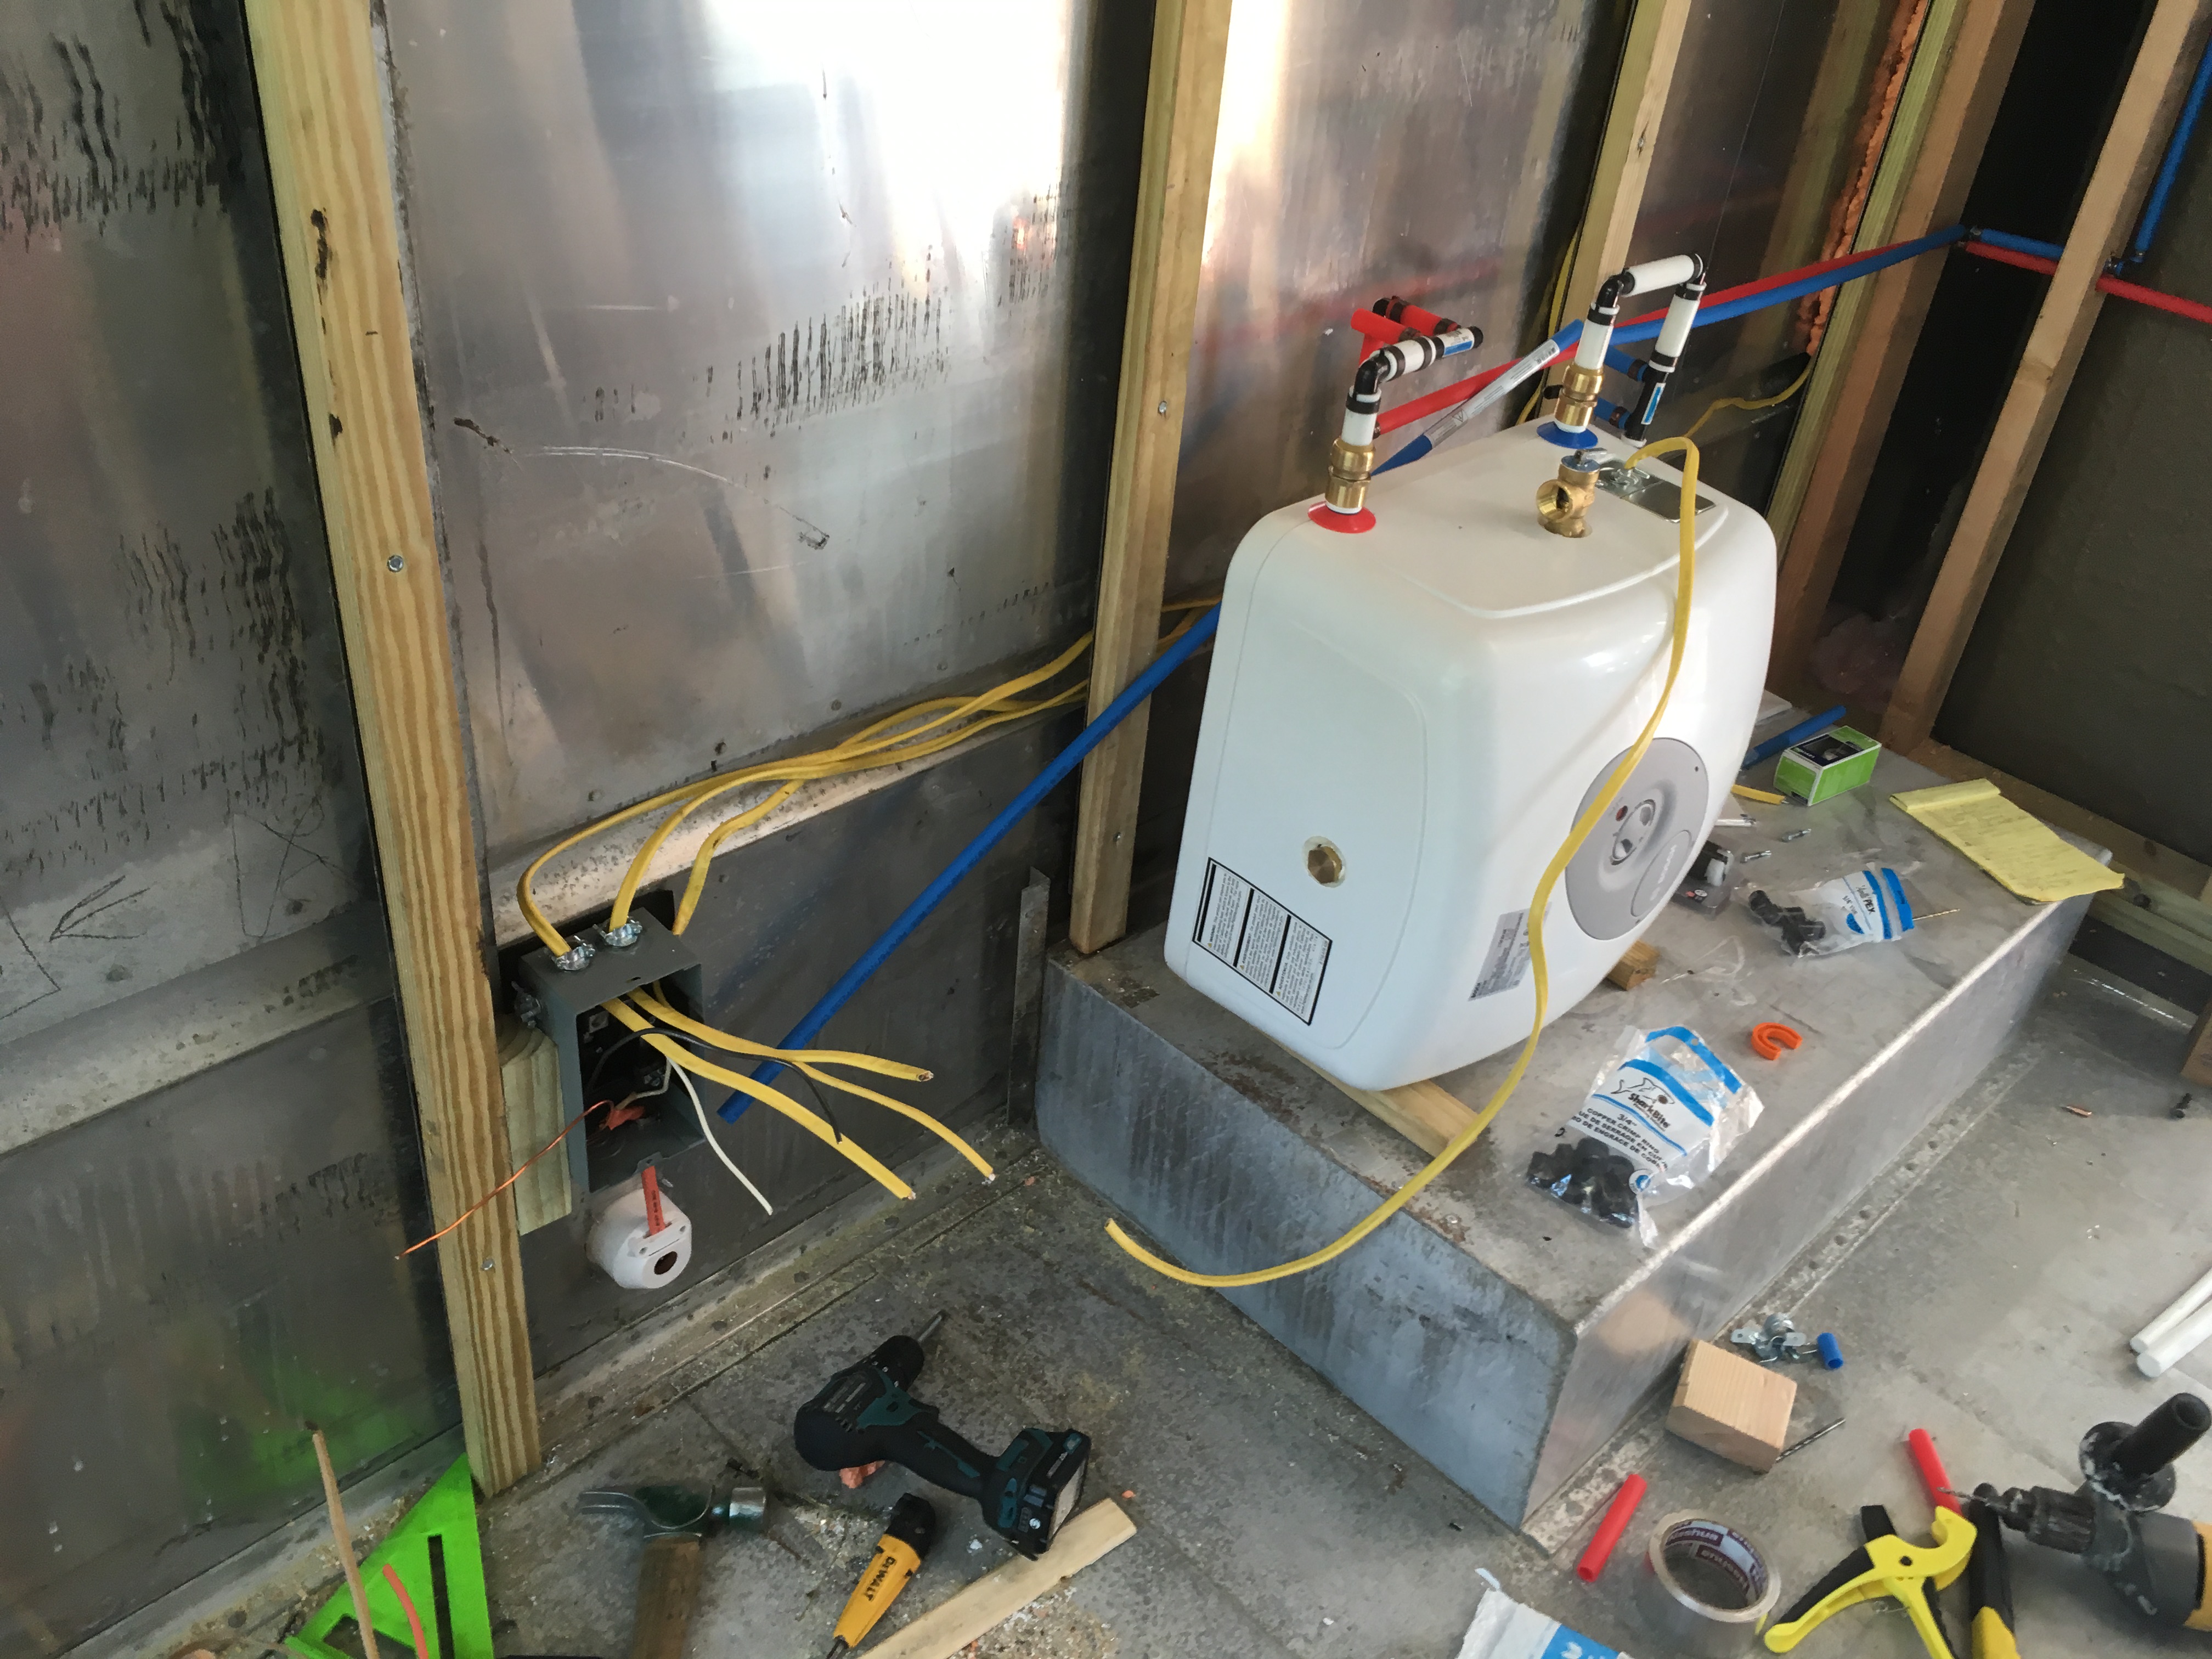
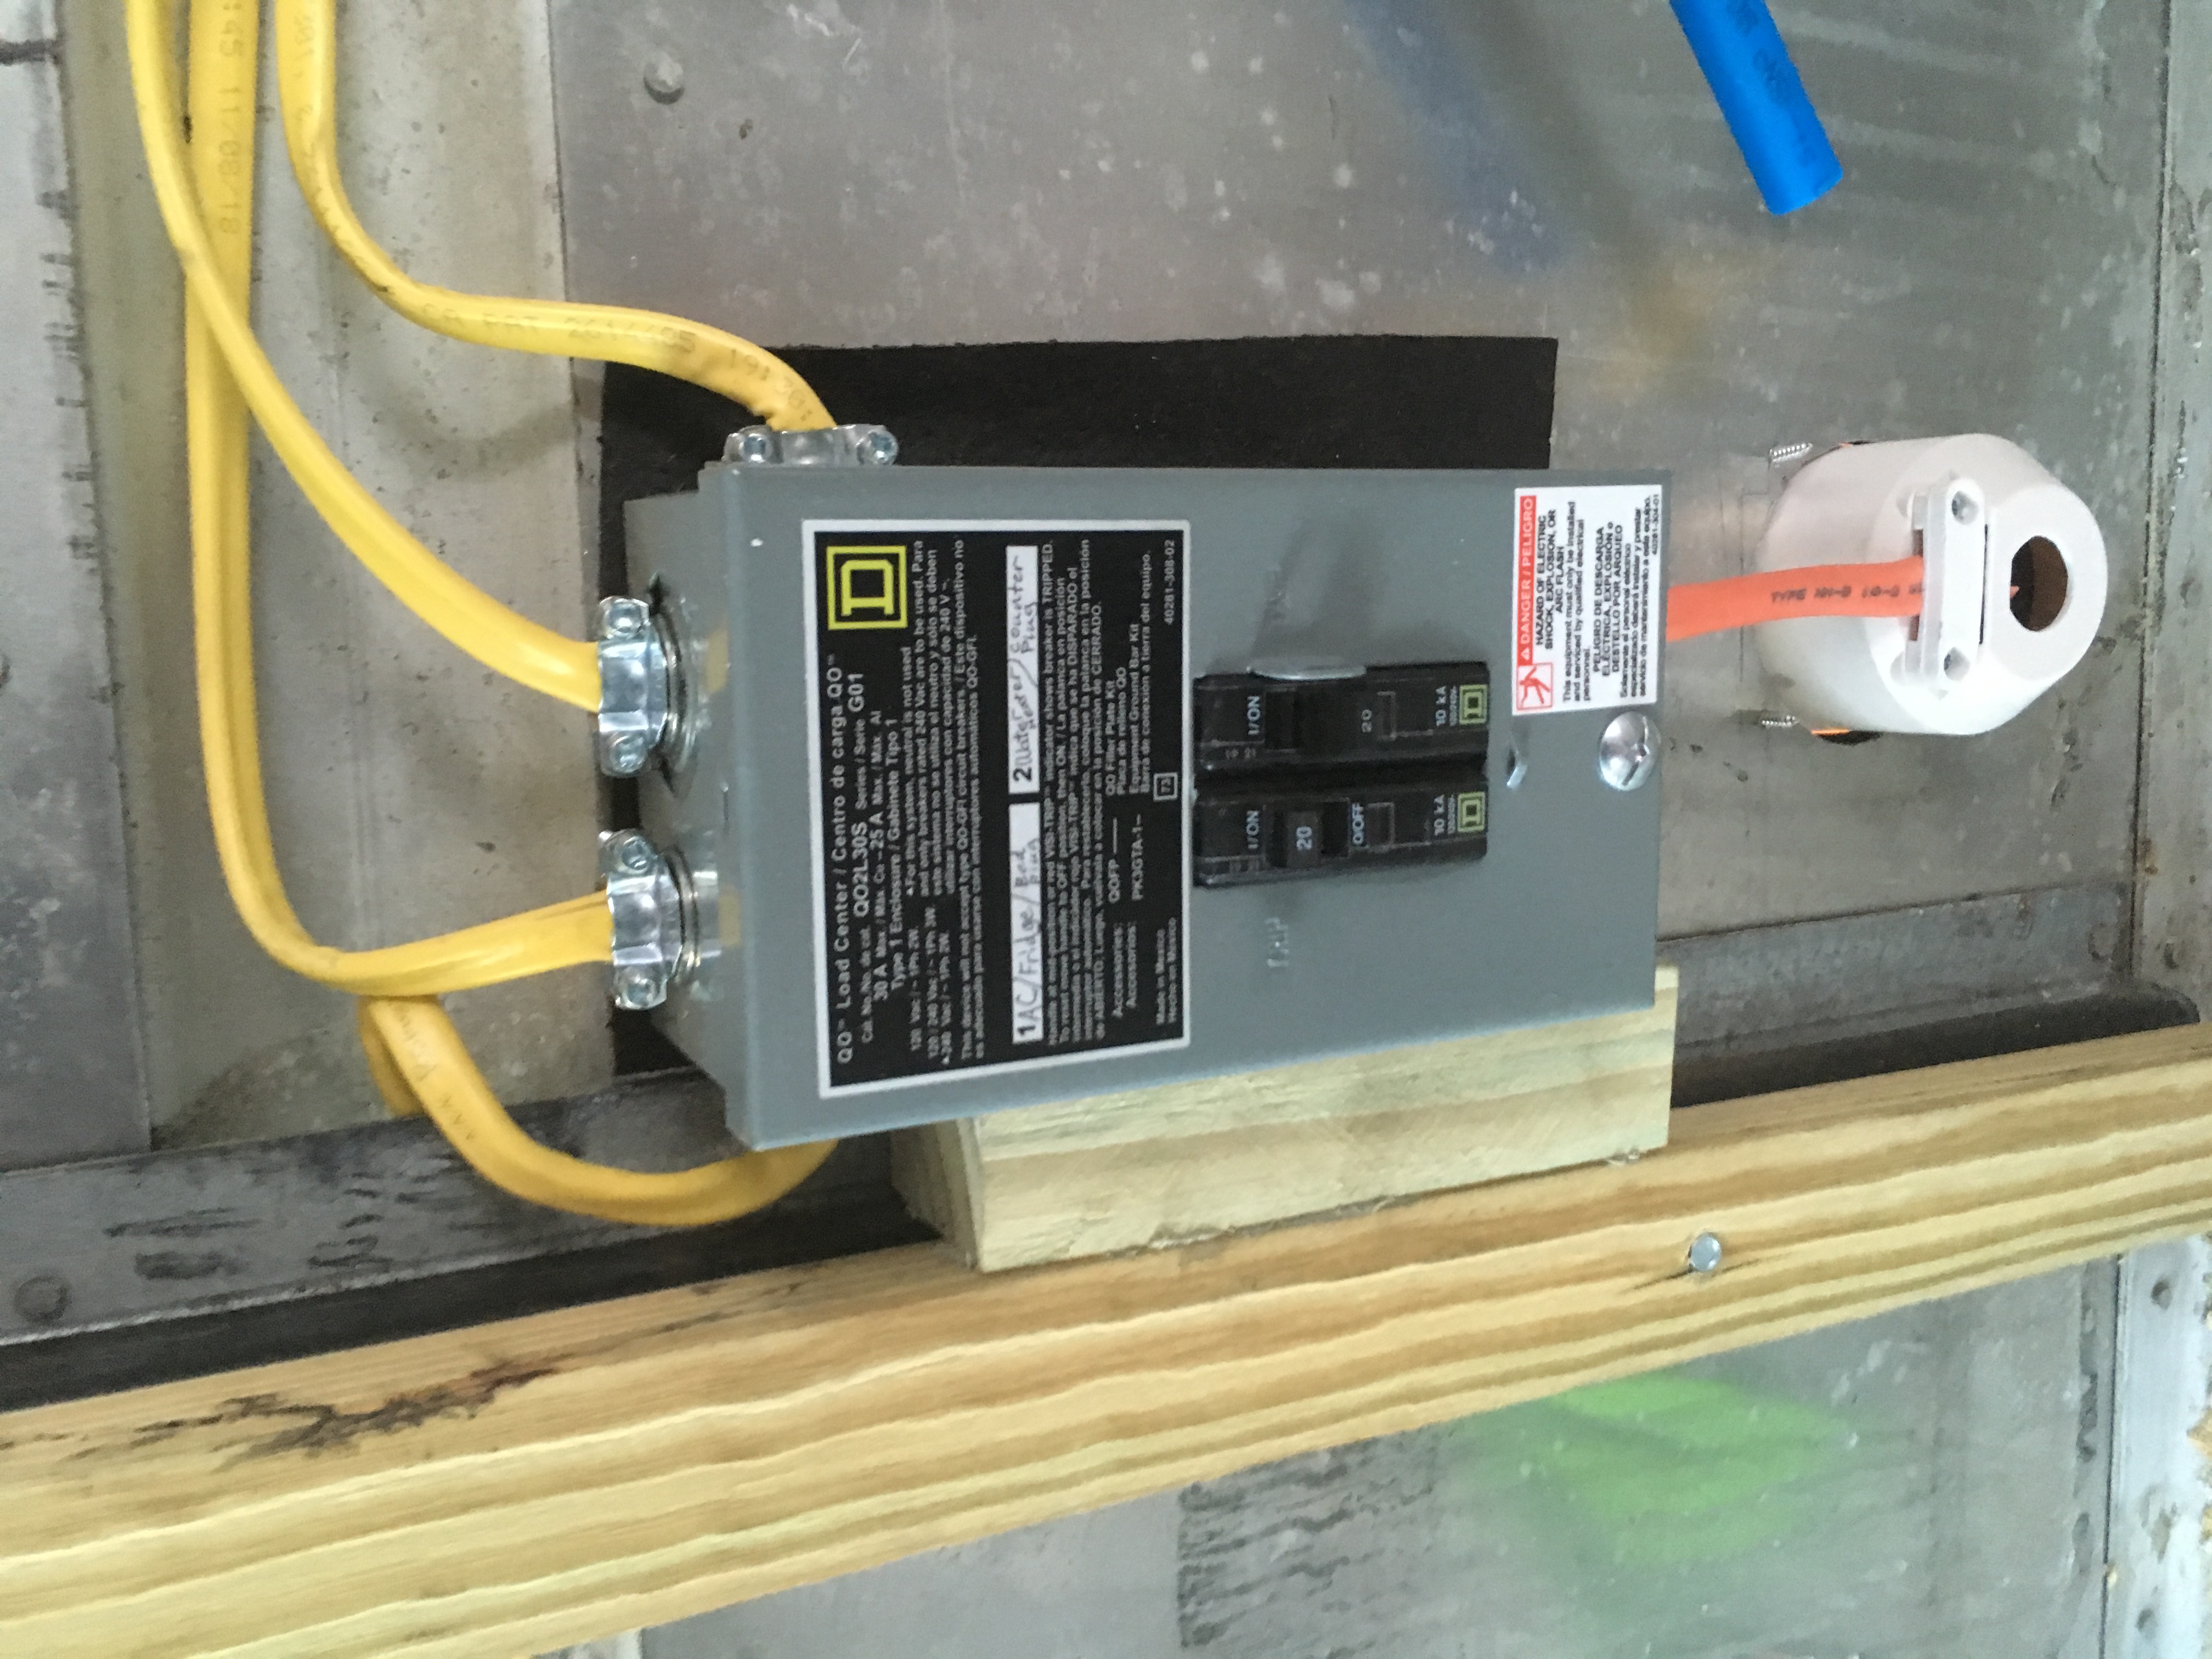
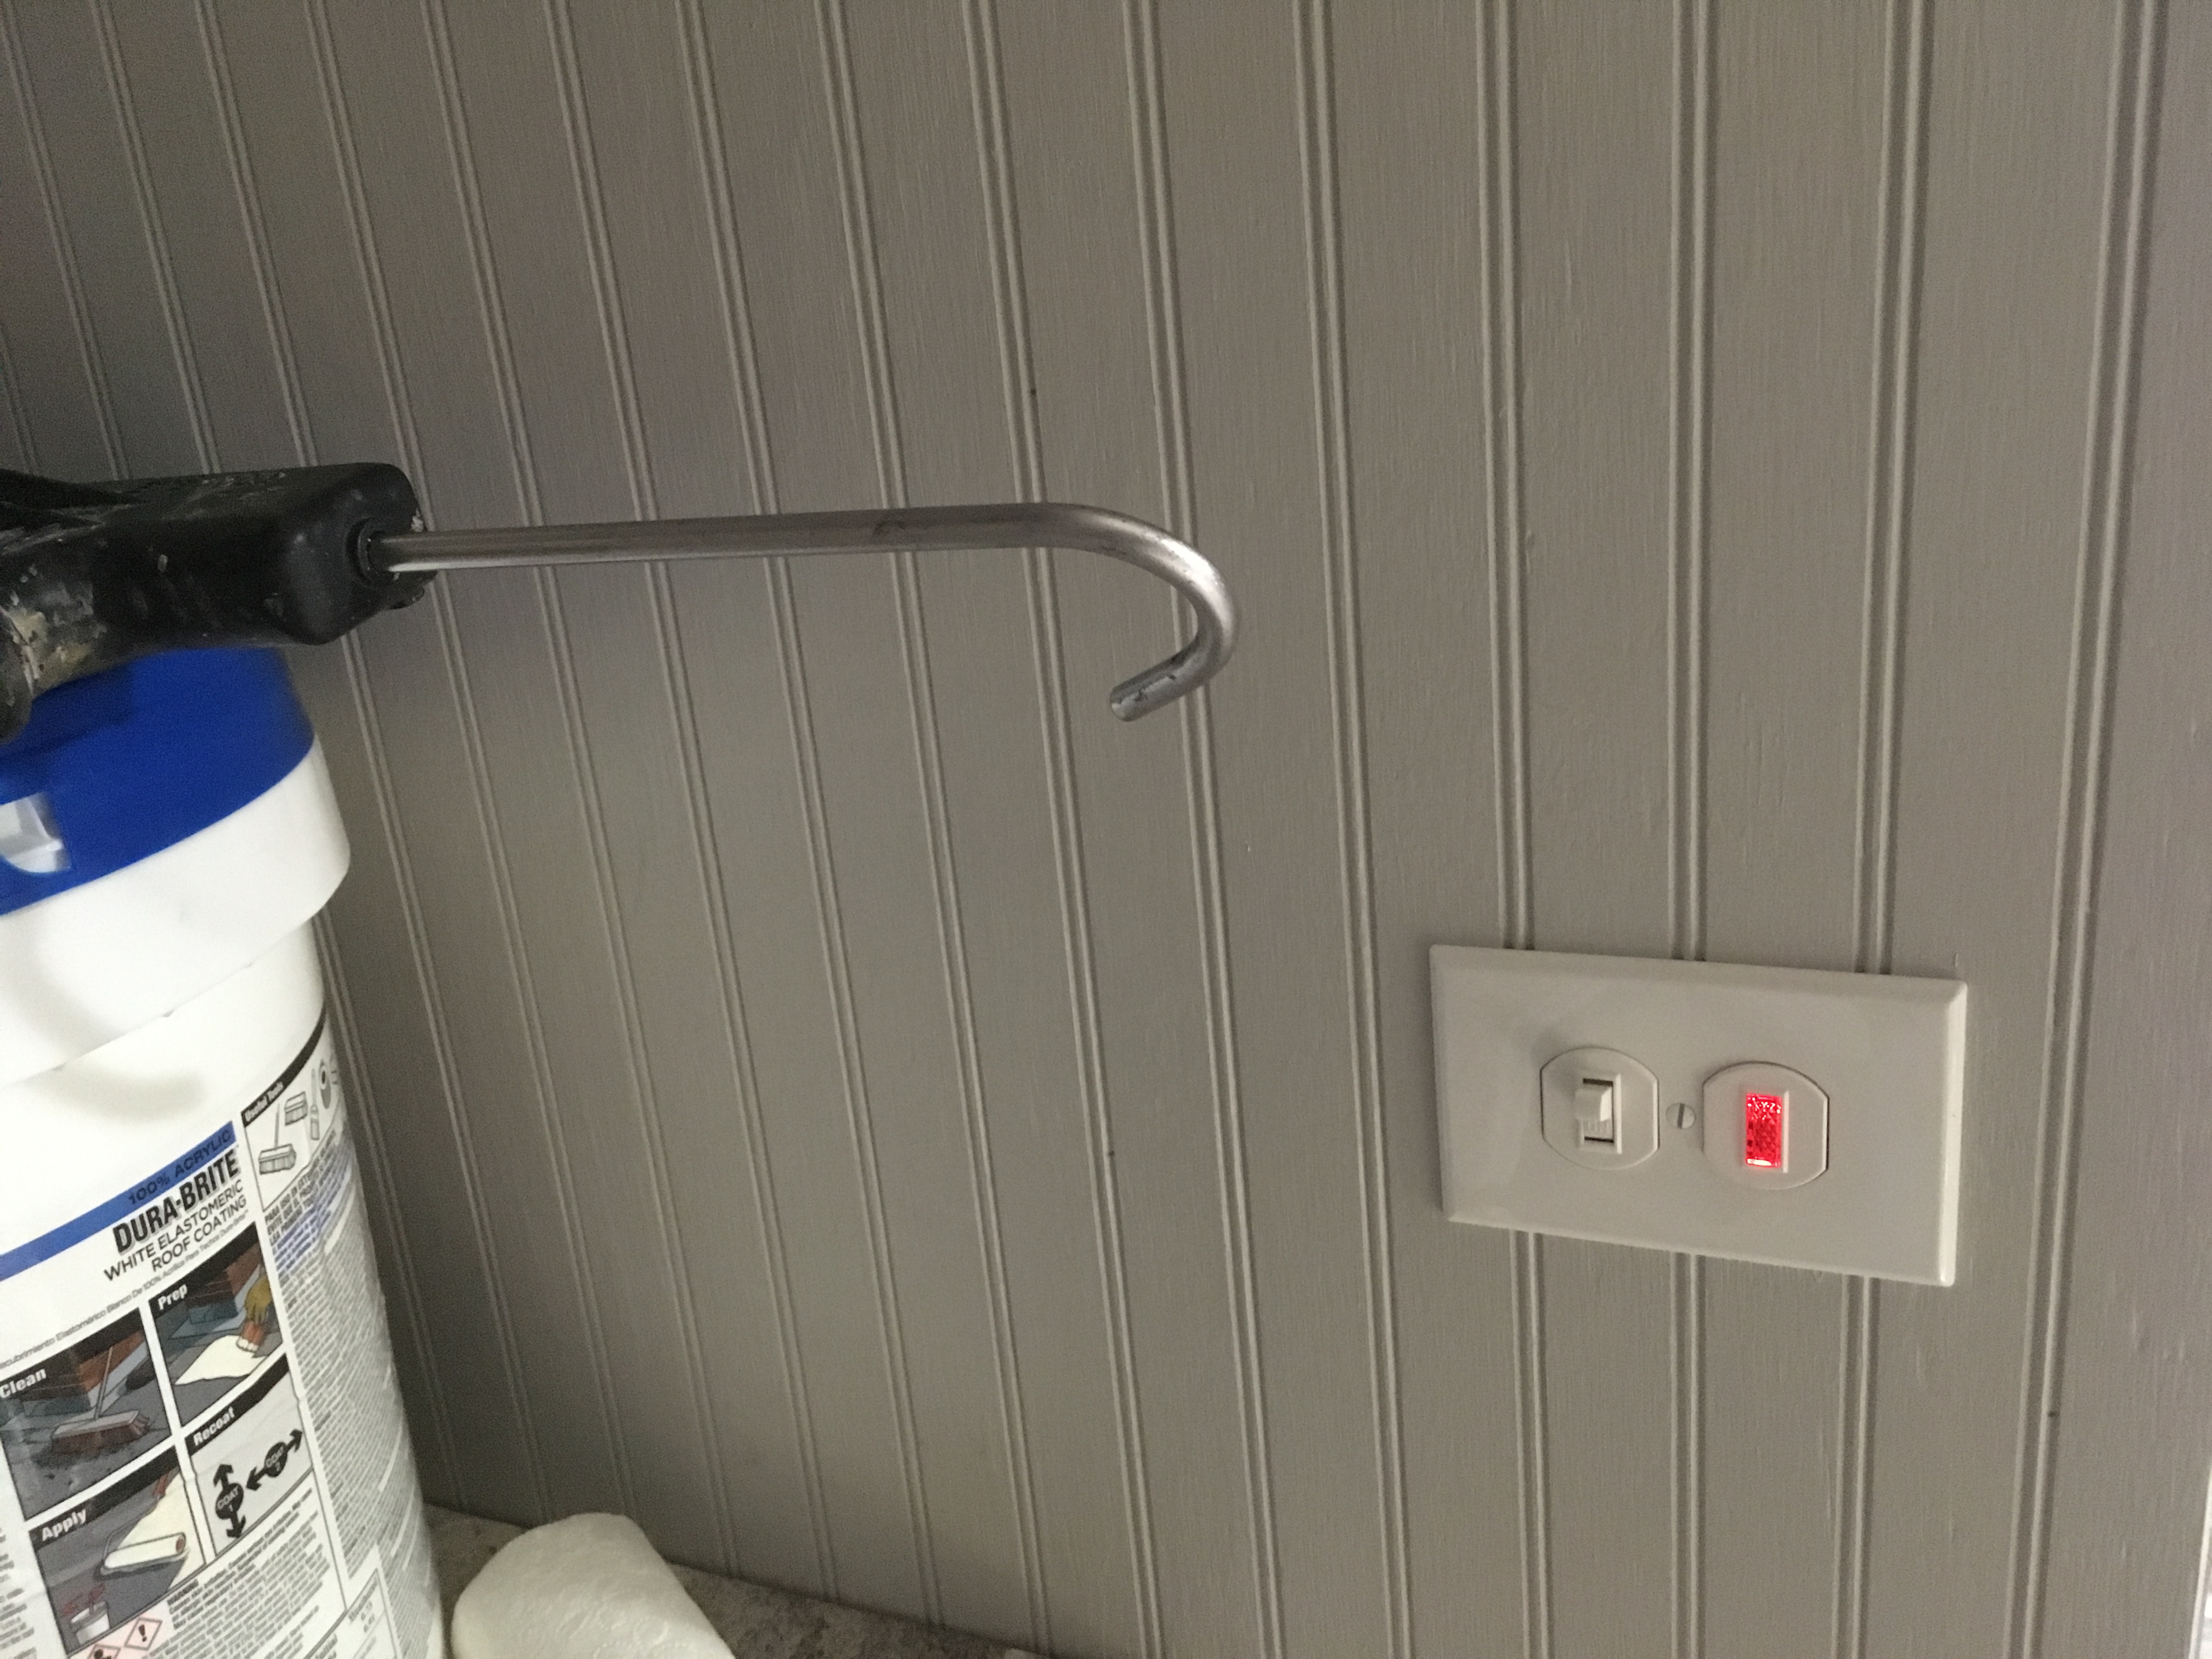
The van setup is really pretty simple. I started out by cutting into the side of the van and installing a 30 amp RV plug connection. I ran the power to a small 30 amp service panel (just two breakers) that I got from Home Depot. I ran one circuit for the water heater on a 20 amp breaker with a lighted switch that reminds me when it is on so I don’t have too many things running at once. I also ran a circuit off the same breaker to a plug near the counter that can be used for power hungry household appliances (like a toaster oven) when not heating water. The counter plug also has built in USB ports. On the other breaker I ran wiring for the air conditioner, refrigerator, TV, and another plug. Lighting in the van will be 12v LED…

45EAA21C-2EBD-4A04-A235-9607F5267EE8

6958844F-FF33-4A94-A6F3-F36406DA683A

F740E16C-2325-4671-991E-24DE5B49CB30.jpeg

That’s pretty much it for the electrical. It’s wired like a house, just on a smaller scale! ????

A Hot Shower

It’s easy to take a shower with hot and cold running water for granted. It’s so routine that the miracle of it is rarely thought about, at least until you find yourself having to make due without it. I have found myself in such a position many times. The longest of which was when I spent half a year hiking the Appalachian Trail.

A nice shower is rejuvenating. It can change your whole outlook on the life. But the limited space available in smaller vans make setting up a shower very challenging. In the past I have used an inflatable kiddie pool as a catch basin and a solar shower hung from the ceiling in a pop top Volkswagen camper van. The quick way to get hot water from a solar shower is to put it in your backpack and walk into the bathroom at Burger King and fill it up in there ????

(If you are living in the same area for awhile and don’t have room for a shower in your van, a gym membership is a good solution for regular showers…and exercise!)

The massive size of this step van however gives me plenty of room to set up a shower. I prepared the back corner of the van and cut a hole through the aluminum floor for the drain using a jigsaw with a metal blade.

2B37B436-C65C-46F0-AA70-3DF76438787A.jpeg

I selected a one piece 32” fiberglass shower stall from Home Depot and framed a wall in to accommodate the plumbing. I chose a 7 gallon Bosch “point of use” electric water heater (like the small ones you sometimes see under sinks in restaurant bathrooms). The sticker price for compact appliances specific to boats and RVs is a bit high. They are more complicated then household appliances of similar size because they can be powered several different ways. There are RV water heaters that can run off propane, 110v, 12v, or even engine heat. It is around $600-$700 for one of those. I got this Bosch electric water heater for under $200. I actually decided to go all electric with the water heater, A/C, and refrigerator to start off with because it will save me over $2,000. That will help toward the total construction cost and I can upgrade later..

Anyway, here is the initial set up. I cut through the side of the van to install power and water hook ups.

61285D14-2F22-40AF-8CFC-7EB4BC92FF3B.jpeg

343828DF-F2F0-42F3-9947-D8B8207C08E6.jpeg

34D1B4AB-46A4-44E3-A516-1DE4A81D8E78.jpeg

I roughed in the plumbing using PEX tubing. I installed the same dual control delta shower valve and monitor that I installed in one of my apartments and really liked. You can adjust your temperature setting and control the flow of the water independently. This will be a handy feature when doing navy showers and trying to conserve water. I also purchased an extremely low flow Bricor shower head that only uses .6 gallons of water per minute.

Taking the time to set up a hot shower may seem like a hassle. In a way it adds complexity to a simple task…(heating up water, pouring it over your head, and then catching the waste water). But considering the effort of doing that everyday, the investment in setting this up is well worth it. In the next post I will be talking about the electrical system, which gives life to this wonderful little water heater.

Reduce the complexity of life by eliminating the needless wants of life, and the labors of life reduce themselves.”

~Edwin Way Teale 1899

Garage Door Removal

A lot of these delivery trucks come with rollup rear doors. It may be great for a delivery truck but not so much when you’re converting it into a tiny home. The garage door takes up quite a bit of space along the ceiling of the interior of the van. They do make these with hinged barn doors but I would say the rollup garage door configuration is more common.

IMG_0558

I’ve installed several garage doors in the past. There is a big spring that assists in the lifting of the door that you want to be careful of while removing it. It’s under a lot of tension and could potentially be dangerous when it lets loose. Going about the removal in an expeditious way, I partially closed the door to use it as a shield, reached in, and cut the cables from the outside. The spring let loose with a loud racket as it was unwinding and the cables were whipping around inside the van. Now I had the full weight of the door unassisted by the spring. I took the end stops off the track and pulled the door off into the interior of the van. You may want help for this as it is heavy.

I never wanted a rear roll up door on a step van but it actually turned out to be a good thing. Once it was removed I had a giant opening that I could frame in however I wanted.

I decided to offset the opening for a 32” hinged door (that I will later build). Putting the door opening slightly to one side would allow me room to install a 32 inch one piece fiberglass shower unit along the back corner of the van. I also had just enough room on the other side for a small 5,000 btu window air conditioning unit.

F7CCC882-1077-42AF-A4C9-02DA82D3F594

I used 1/2” treated plywood for the exterior sheathing and sealed everything real good around the perimeter. I thought about doing something fun like covering the back wall with cedar shingles, then adding a flower box, and a fancy door to make it look like a little house. But I decided it might draw too much attention. So I am going to cover it with white aluminum sheeting. I would like to be able park it in unconventional urban camping locations without drawing too much attention. The more it looks like a boring delivery van the better. I have been woken up by the cops several times in the middle of night while sleeping in camper vans. They are always polite and I’ve never gotten a ticket, but I’d like to avoid that as much as possible…

“The potter knows he plays with clay but works with space, For the use of the bowl is its empty space.

It is the same with the room, Made whole by the emptiness between the walls.

Remember that something is not everything. Nothing is also essential.”

~Lao Tzu